Create CT
From UG
(→Create CT for CT1 Client) |
(→Create CT for CT2 Client) |
||
| Line 40: | Line 40: | ||
==== Create CT for CT2 Client ==== | ==== Create CT for CT2 Client ==== | ||
| + | |||
| + | [[#Figure 4: Create CT from CT2 number]] | ||
==== Create CT Admin ==== | ==== Create CT Admin ==== | ||
Revision as of 01:54, 24 December 2009
Contents |
Parent Mantis
Business Needs and Requirements
Technical Specification
Summary
This is the module in the system that controls how CT is created.
Create CT is a key operation.
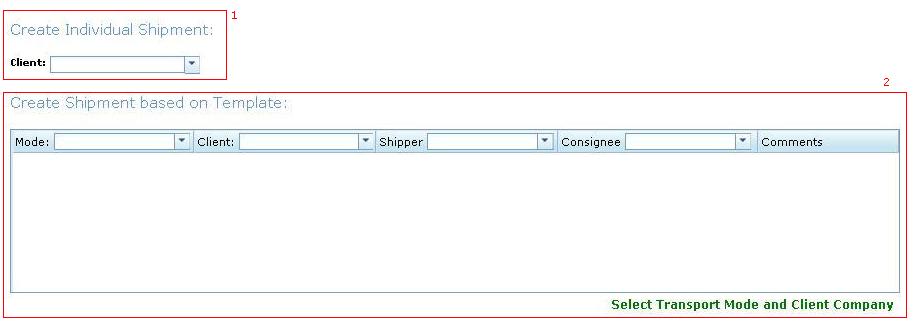
It is always done from Create CT Page. See #Figure 2: Create CT default
There are several ways to create CT at the moment.
Simplest way to create CT is to select Client Company and click "Create". In case of CT1 Client you would also have to enter CT#.
For details see below.
User Interface and Functionality
There are 2 UI based components related to "Create CT" feature in the system:
Create CT Page
Located at Ops Home > Create Individual Shipment
By default it looks like on Fig 2.
Depending on what Client you select CT1 Client or CT2 Client you will get slightly different view. See below.
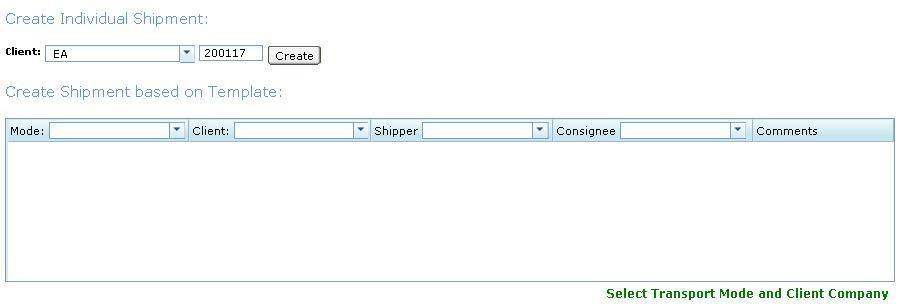
Create CT for CT1 Client
If system identified that you selected CT1 Client then it will present this view: #Figure 3: Create CT from CT1 number . User must enter CT# and click "Create"
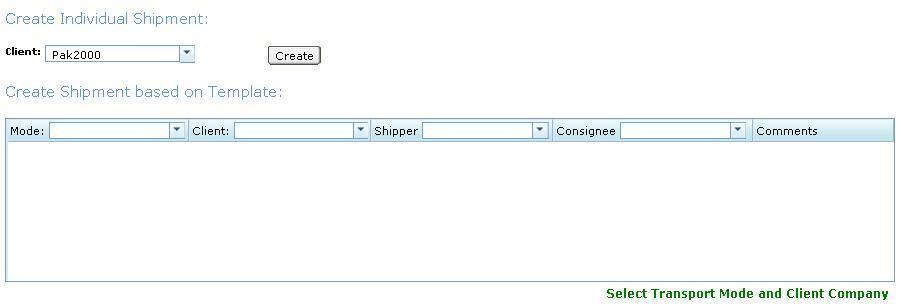
Create CT for CT2 Client
#Figure 4: Create CT from CT2 number
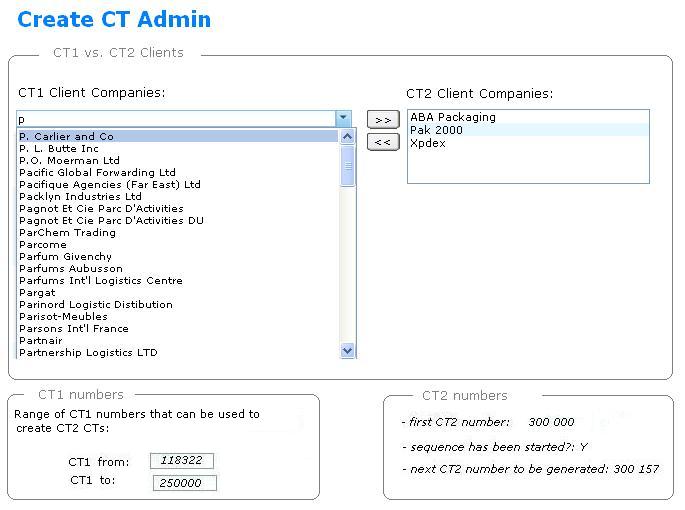
Create CT Admin
See Figure 1.
Entities and Attributes
Special Cases and Misc
Look And Feel
Figures
Figure 1: Create CT Admin
Figure 2: Create CT default
Figure 3: Create CT from CT1 number
Figure 4: Create CT from CT2 number
Figure 5: Create CT from Template for CT1 Client
History
Add capability to choose between Generate CT# and Enter CT# on per Client basis
- mantis: http://mantis.jaguarfreight.com/mantis/view.php?id=1636
- spec updated? Yes


